| ☰ See All Chapters |
Handling JavaScript alert in Puppeteer
Puppeteer provides a “Dialog” class for handling alerts. When an alert is displayed, we have to obtain Dialog object of alert popup to access it. To access the alert box displayed on the screen as an instance of the “Dialog” class, we have to attach the dialog event to page.
async function handleAlert( page: Page ): Promise<void> { const element = await page.$( "#alert" ); element.click(); page.on( 'dialog', async dialog => { console.log( dialog.type() ); console.log( dialog.message() ); await dialog.accept(); } ); } |
Dialog class provides the below list of methods to handle alert:
Method | Description |
accept(): Promise<void> | Accepts the alert. |
message(): string | Returns the message displayed in the alert. |
type(): DialogType | The dialog type. Dialog's type, can be one of ‘alert’, ‘beforeunload’, ‘confirm’ or ‘prompt’ |
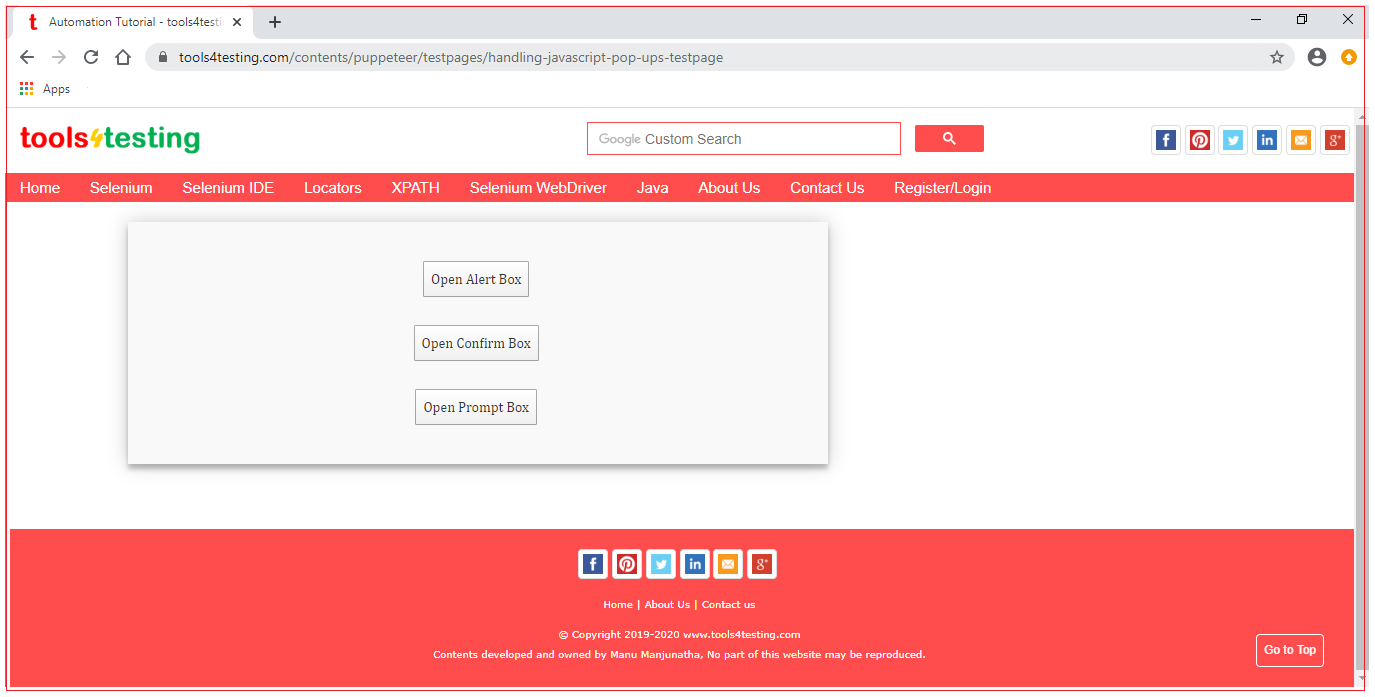
You can write the script and test these using our Test Page

Puppeteer alert example
import { launch, Page } from 'puppeteer'; example();
async function example() { const browser = await launch( { headless: false } ); const page = await browser.newPage(); await page.setViewport( { width: 1366, height: 768 } ); await page.goto( 'https://www.tools4testing.com/contents/puppeteer/testpages/handling-javascript-pop-ups-testpage' ); await handleAlert( page ); await browser.close(); }
async function handleAlert( page: Page ): Promise<void> { const element = await page.$( "#alert" ); element.click(); page.on( 'dialog', async dialog => { console.log( dialog.type() ); console.log( dialog.message() ); await dialog.accept(); } ); } |
Click here to learn to execute puppeteer example using typescript
All Chapters

